
It’s almost fall, and we all love it when the house has that lovely smell that reminds us of the season. Making your own candles might seem a bit daunting, but several methods are fun and easy. The beauty is you’ll have complete control over the resulting scent and colors! We’ll discuss what you need to get started before you embark on your candle-making journey. So, let’s get started about everything you need to make your very first DIY candle!
Pre-colored paraffin, soy, or beeswax
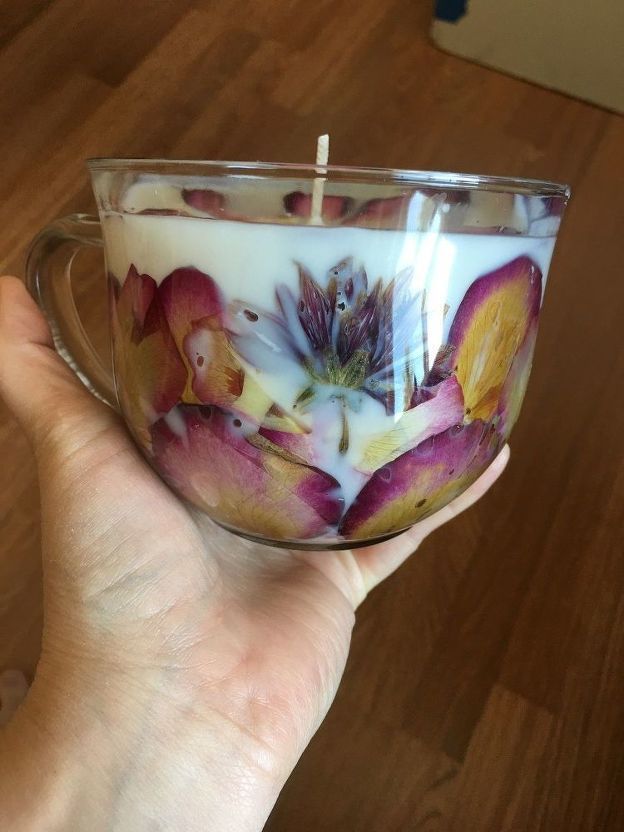
These scentless waxes are easy to source and are the base for any candle making. You can choose a single color or use multiple colors in layers, depending on your desired finished result. If using white, consider adding flowers during the process for a beautiful finish. There is some discussion about which wax is best, but rest assured, they are all great options. Choose the one that fits your budget, but keep in mind that for those of you that are eco-conscious, beeswax will be best.
Scent component
There are several ways to scent a candle. Most commonly, fragrance and essential oils are used as they have a long shelf life and provide optimal control. There are, however, two things to consider: the fragrance load and the scent throw.
- The fragrance load is how much of each oil you’ll add to the melted wax to scent it. Different waxes and oils require different ratios, so be sure to do your research.
- The scent throw has two components. Candles have both a cold and hot throw. The first is what the candle smells like before it is lit, and the second is the scent that permeates the area when it melts. You’ll want both scents to be pleasant and not overwhelming, and don’t be wary of experimenting, as you can combine scents to produce the most pleasant aroma. Keep in mind that you’ll want to let the candles rest for a minimum of two days, but that a week or longer provides the best cold scent.
Wicks
This is when you decide which type of candle you’ll be making. If your candle will be in a jar or a bowl, buy cotton wicks that have weighted bottoms and trim them to the desired height once they’ve cooled down – one inch above the wax level. If you prefer tapered candles, you merely need a long length of cotton wick without the weighted bottom. Some people prefer to use wooden wicks, and many articles discuss the advantages and disadvantages of this method.
Large pot for wax melting, a pourer, and container for your candles
A large metal pot is perfect for melting and mixing wax. If you’ve decided upon a candle within a container, you’ll need a pouring apparatus or ladle to scoop the melted wax safely into your container. If you’ve decided to do the dip method, make sure your pot is taller than the candles you’d like to produce and that you have a rack ready for them to rest while hanging.
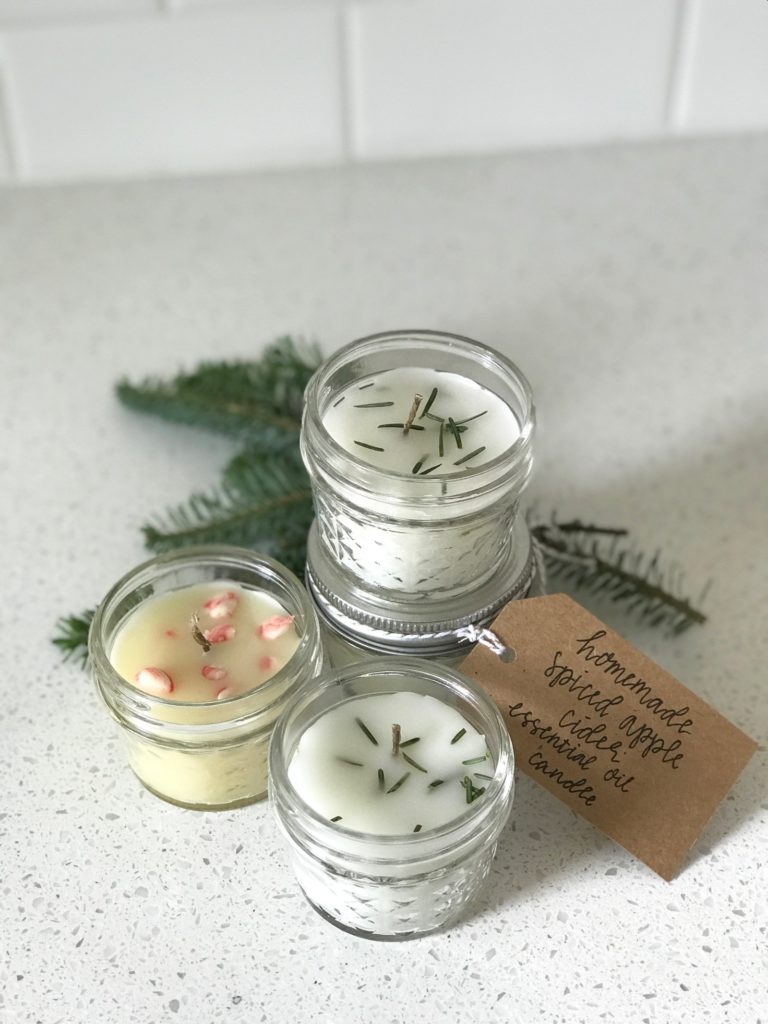
The options for containers are endless. From tea candles to jars, bowls, and thick vases, anything glass will work. Please stay away from larger candles in metal containers, as they’ll heat the metal beyond a safe temperature for the surroundings, but tea candles work best in small metal containers. When choosing your container, make sure to choose a jar or bowl with a thick base to protect surfaces from scorching.
Now that you know what you need gather it all up and find the specific instructions for the candles you want to make. Each one has a slightly different method, and be sure to check the fragrance load for your type of wax! You’ll be a chandler – a professional candle maker – in no time at all.