
Going to the nail salon every week is not realistic; whether you haven’t been paid yet or the salon is fully booked, you can’t get a fresh manicure. Well, the good thing is that you can get perfectly lush nails by yourself at home with just a few tips. This article guides you through getting your DIY manicure perfect and looking professionally done.
Get the canvas prepared
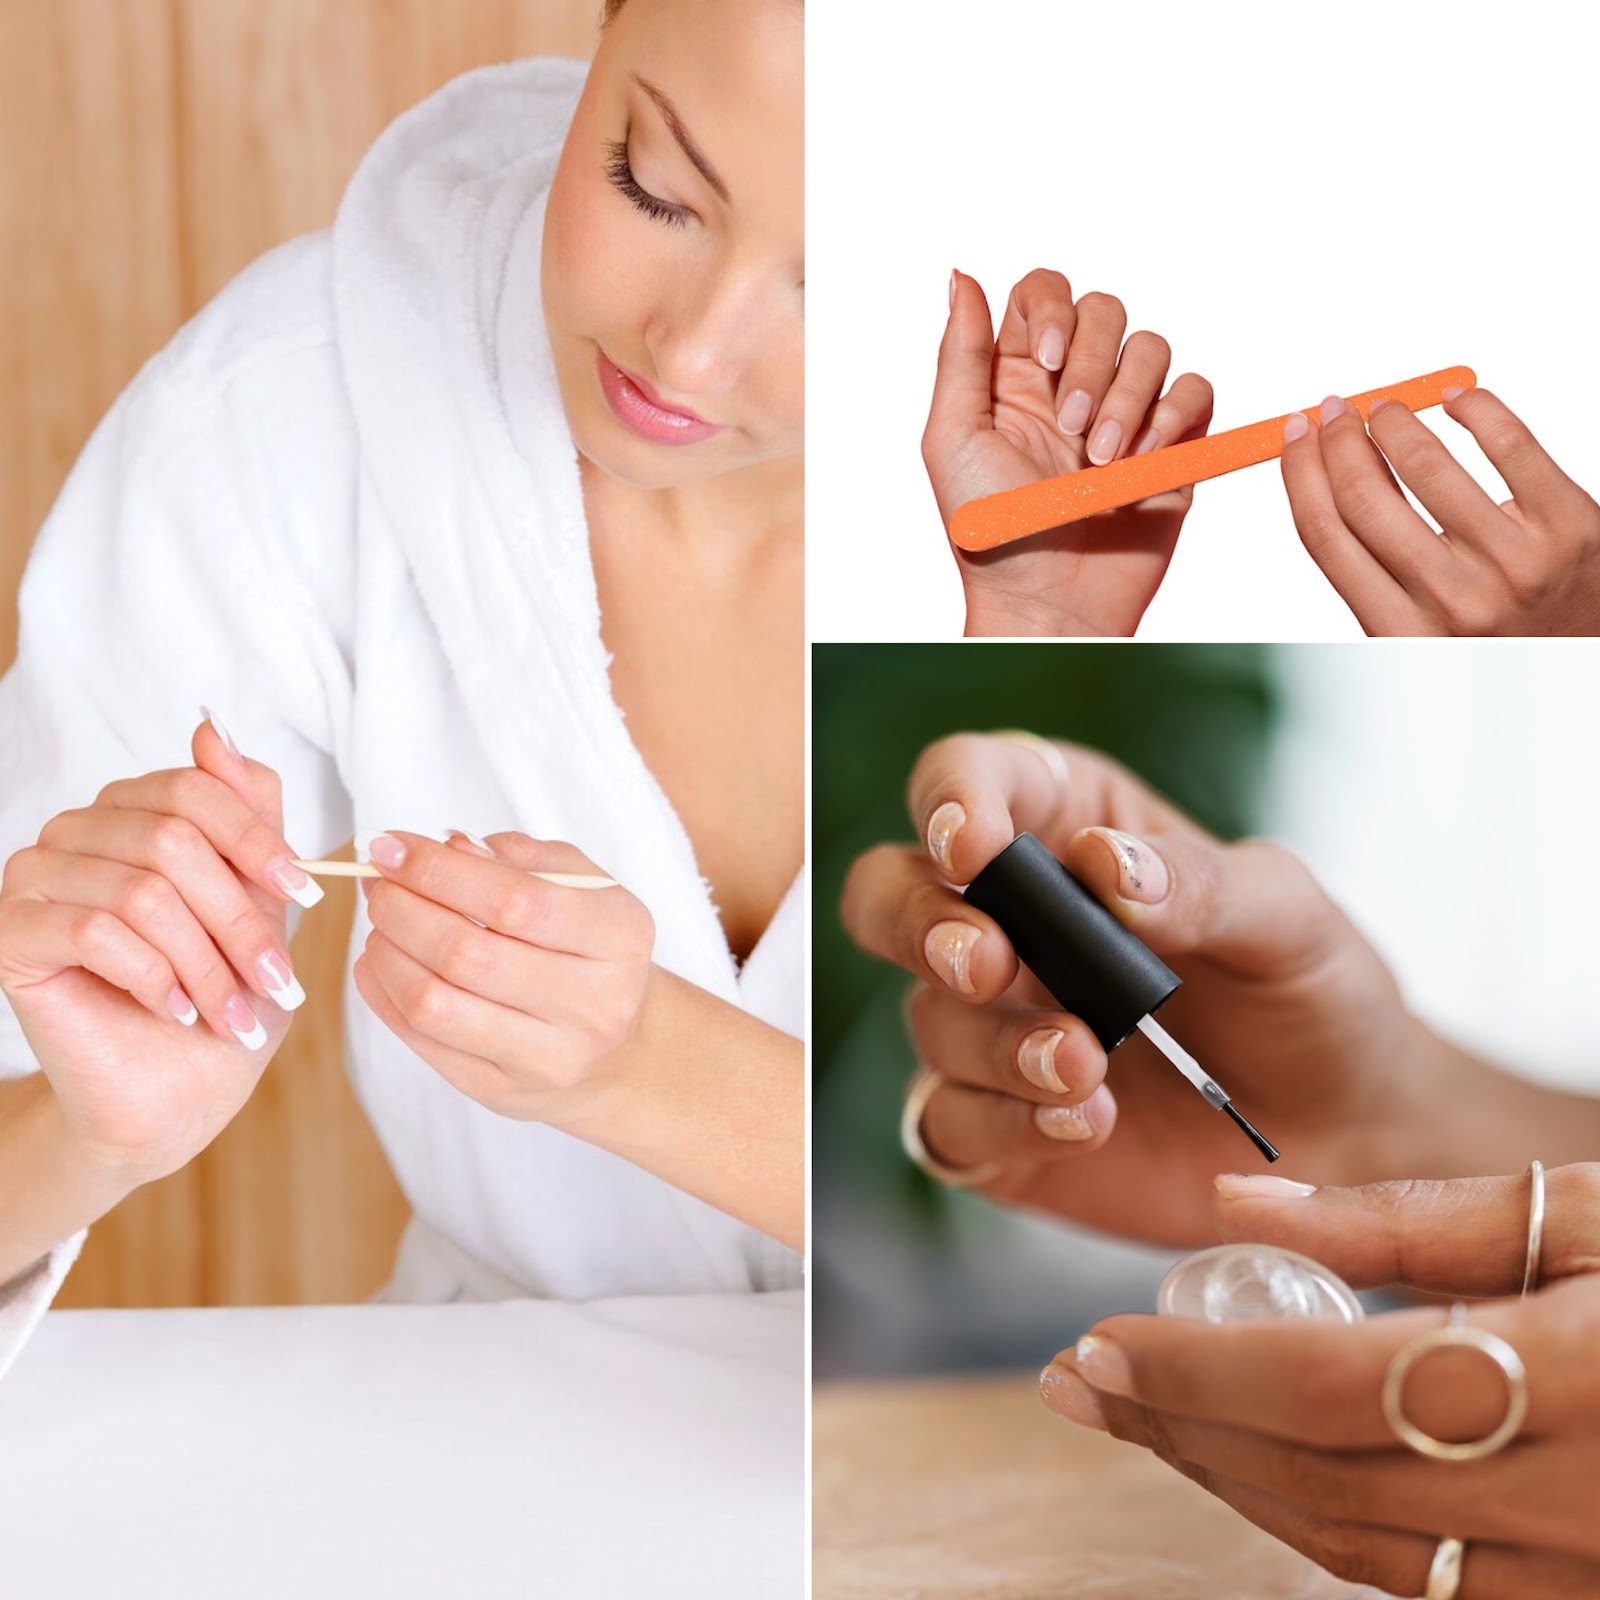
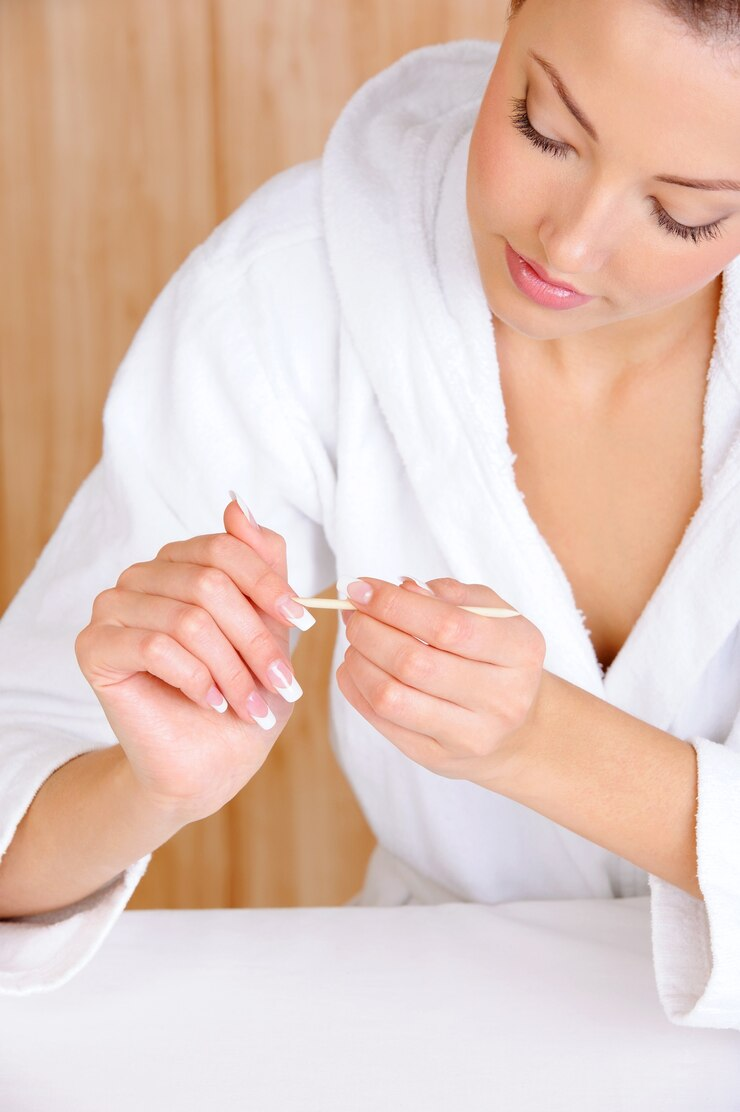
The secret to a good manicure is a good base- and that’s why you have to prep your nails properly. The first step is to remove any old polish from your nails with an acetone-based polish remover.
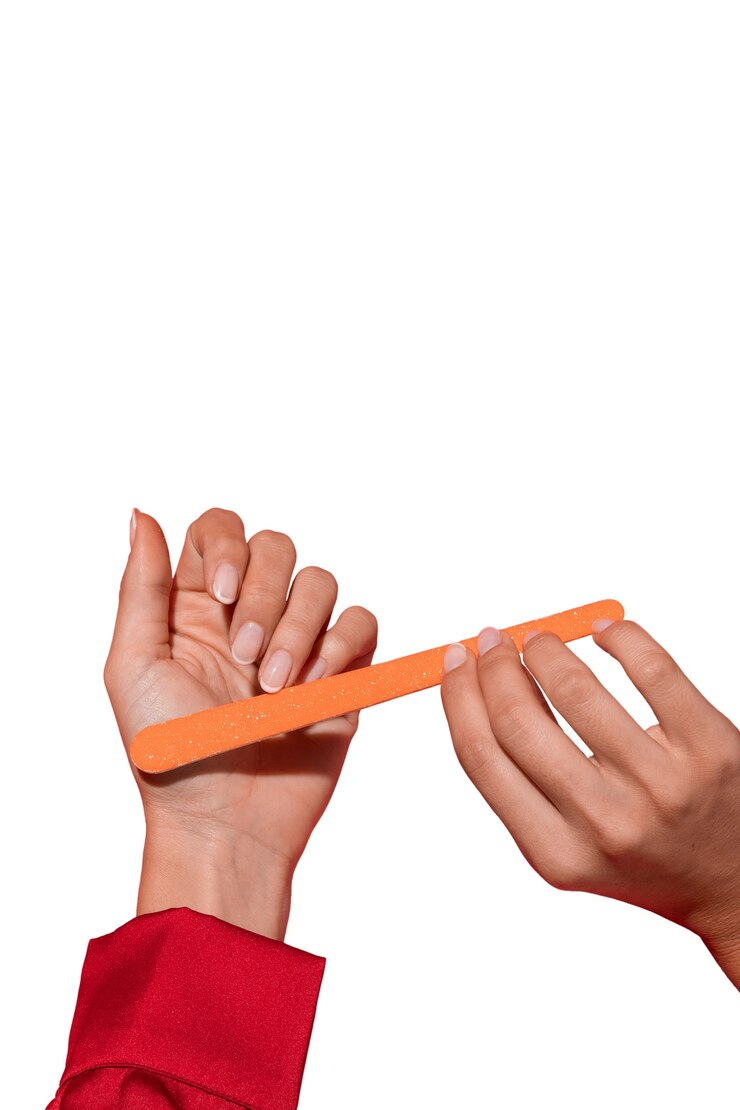
The next thing is to cut your nails with your nail clipper in your desired shape and use your file to perfect the shape. Then, apply cuticle remover before pushing your cuticle back gently.
It’s all about the polish
Before people notice the shape of your nails or anything else, the color of your nail polish is the first thing they see. The color and shine you choose depend on your mood or the occasion.
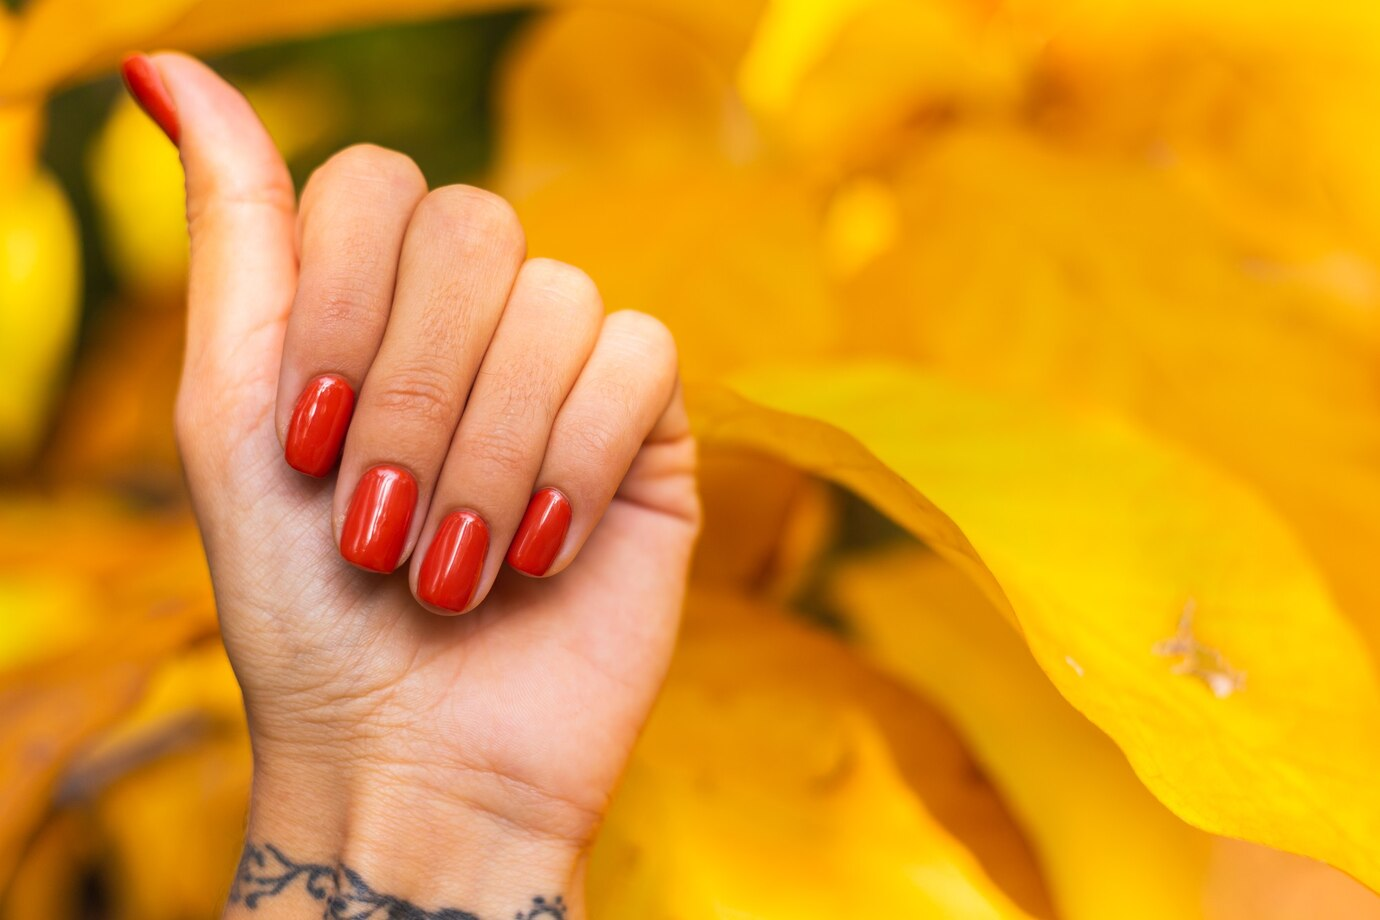
If you’re the conservative type, you might want to go with natural-looking colors like blush pink and brown; you’ll prefer bright, bold colors like green or orange if you want to make a statement. Furthermore, if you’re vegan, you’ll want vegan nail polish.
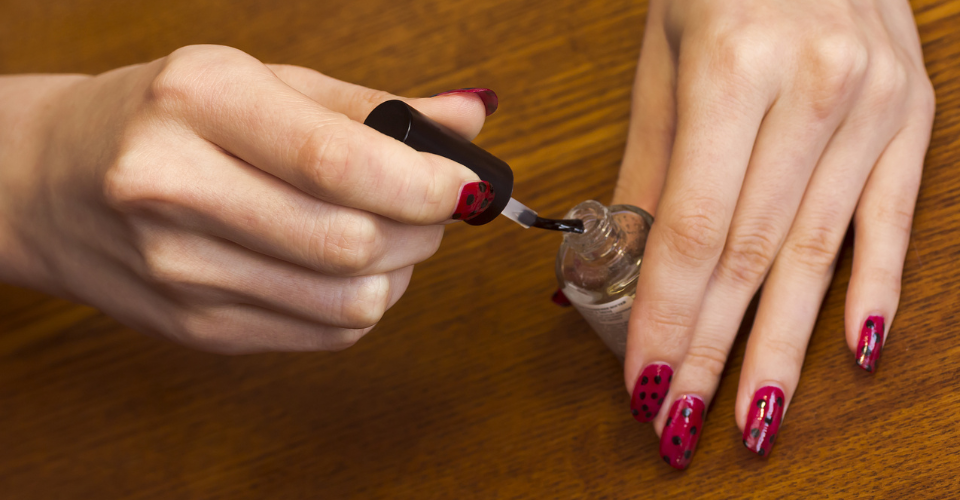
The techniques that make a difference
People can easily tell that you didn’t get a professional manicure when you have nail polish all over your cuticles- so make sure yours don’t look like that. It’s very important to use a base coat for a smoother appearance.

Another essential tip is to paint your dominant hand first; since it’s the hardest, you should get it over with. Also, don’t apply too much pressure with the brush; let it simply float over your nail. Lastly, avoid your cuticles; don’t try to cover the whole nail the first time, just move closer gradually.
Dealing with messes
Manicurists paint your nails with their dominant hand so they don’t have to worry about smudging, unlike when painting your own nails with your two hands. So it’s normal to make a few mistakes, especially if it’s your first time.
After applying polish to your nails, you can remove excess from your cuticles by dipping a small brush in nail polish remover and swiping it over the smudge. You can also remove uneven lines with the same technique.
Wrapping things up
After polishing your nails and removing smudges, the last step is applying the top coat. The top coat protects the polish from whatever your nails might come in contact with- so it’s crucial not to miss it. Also, allow time to dry before using your hands. You wouldn’t want to mess up all your hard work!
To make your manicure last longer without chipping away at the edges, you could wear gloves while cleaning. Also, keeping your hands above the water while in the bathtub can help.