While many DIY projects are simple to pull off, some people run away from them because of the skills they require or the risks involved. The art of tie-dye belongs to the second category; the risks of inhaling dye powder and the seemingly complicated process make many see it as difficult. However, ice tie-dye is one of the easiest techniques. Here’s how to do it easily and beautifully!
Supplies Needed
The supplies needed for ice tie-dye are similar to those required for traditional methods. You’ll need a 100% cotton shirt (or sheet, socks, skirt), tie-dye kit, soda ash, face mask, and rubber bands or zip ties.
In addition, you’ll need a bowl, a rack (or empty containers), and ice. The rack will be used to elevate the shirt and prevent it from touching the melted ice in the bowl.
Prepping the material is the ‘foundation’ of the art
Although many people skip this process, preparing your white garment with soda ash is essential as it makes the colors come out more vibrant. To do so, soak your shirt in a mixture of 1 gallon of water and 1 cup of soda ash.
After squeezing the excess liquid out of the shirt, the next step is scrunching. The less scrunching you do, the fewer chances of white showing. Then, round off the prepping process by securing the scrunched-up shirt with zip ties or rubber bands.
Getting the ‘ice’ part right
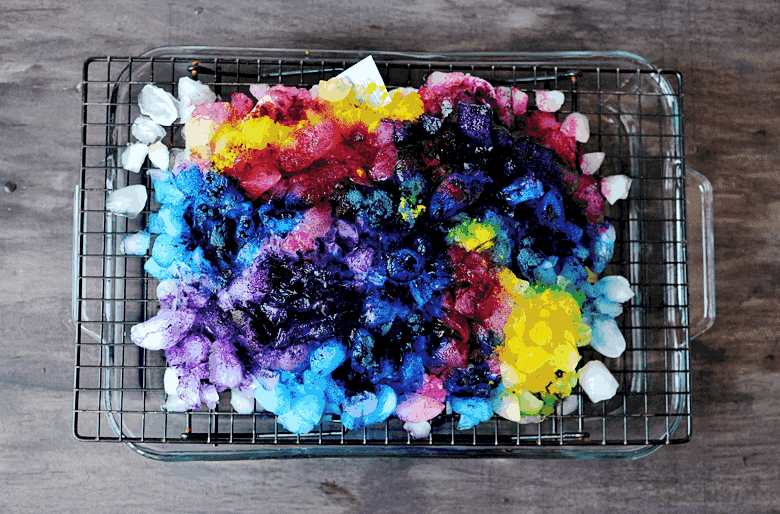
Ice tie-dye seems relatively difficult because you have to use the dye powder directly instead of mixing it with water. However, you can get great results and designs by processing the ice a bit.
This means that you shouldn’t use ice cubes as they are; crush them so they can cover all the shirt’s edges without rolling off. Interestingly, you could use snow instead of ice if it’s available in your area- the results are excellent also.
What makes the colors brilliant?
There is no perfect way to sprinkle dye pigments over the ice-covered shirt– just get creative and sprinkle away! However, you should keep in mind that some colors will mix, so if you don’t want purple, don’t put red and blue close to each other.

The more dye you add, the deeper the colors get, so you shouldn’t put much dye for a watercolor tint. Another important tip is that the longer the colors sit, the more intense the colors get. You can let the colors sit for 9 hours for medium intensity.
Giving it the perfect finish
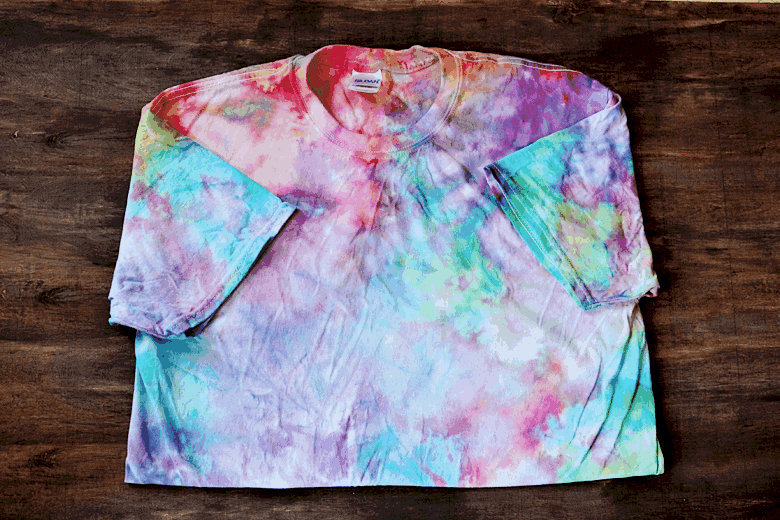
Just like the prepping process, the finishing process of ice tie dye is similar to the regular finishing of other tie dye techniques. You should remove the shirt from the dish and rinse until the water runs clear.

However, for the colors to set better, you could leave the shirt for 12-24 hours before rinsing. Finally, after rinsing, you should throw the dyed shirt in the washing machine and dry it.
